I've always had an interest in welding and metal fabrication, especially as tools used to restore and customize cars. I took a 10 week introductory welding class last fall. Below are my unedited notes and pictures from each week.
I'm taking a beginner welding class at the local vocational school and thought others might find it interesting. I'll make an update each week. Feedback is very welcome.
It's a 3 hour class once a week and runs for 10 weeks.
Week 1
The first week was all about safety and demonstration. We ran out of time before getting to weld.
Week 2
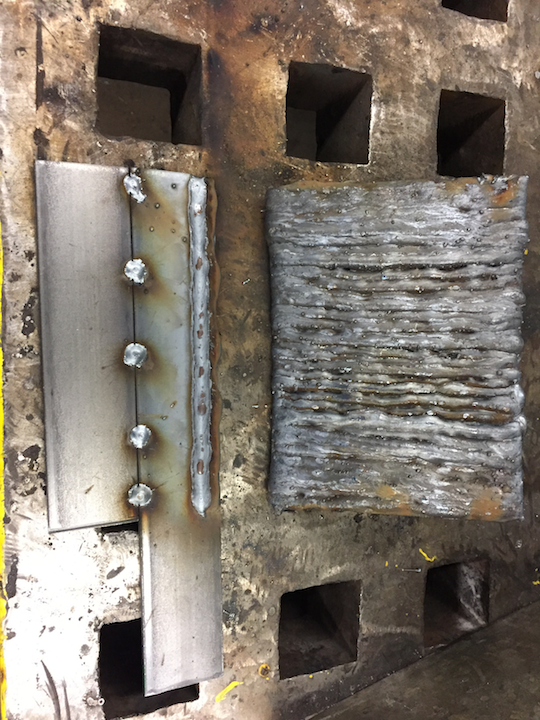
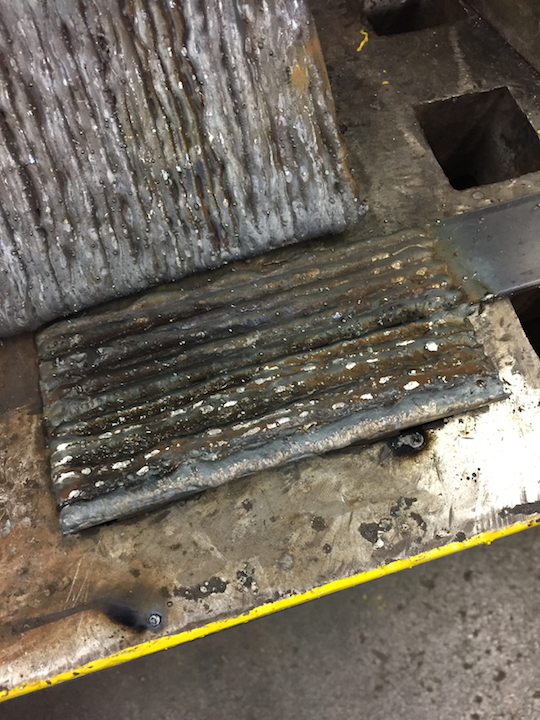
The second week was focused on SMAW/stick welding and the majority of the three hours was hands on. We were given three mild steel plates, instructed to tack weld them together, then repeatedly lay welds to develop a consistent "pad".
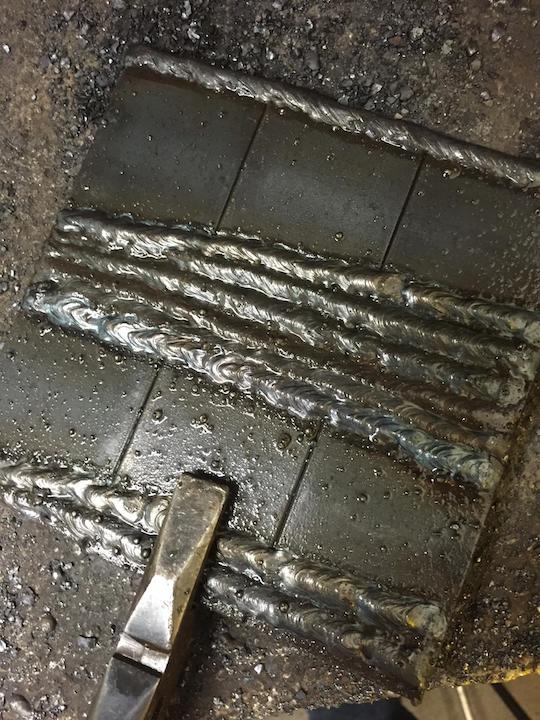
I had trouble with speed at first. I was clearly moving too fast. Slowed down and started to focus on getting the welds to overlap without creating deep "V" valleys.
Week 3
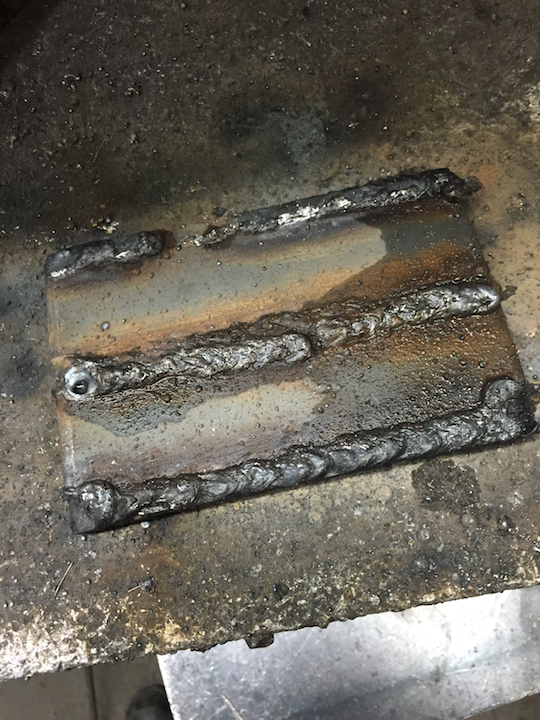
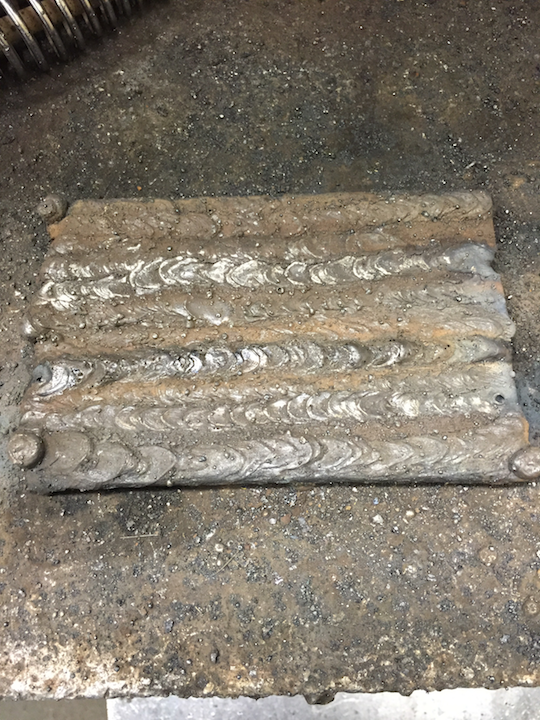
More SMAW welding this week. Again, we were given mild steel plates to tack together and then focus on overlapping welds in order to create a smooth/strong "pad". However, the difference this week was the electrodes. We used "deep penetrating" E6010 electrodes and were aptly warned that they suck.
They are messy, splatter like hell, are much hotter, and are in general harder to work with. I certainly struggled compared to week 2.
Week 4
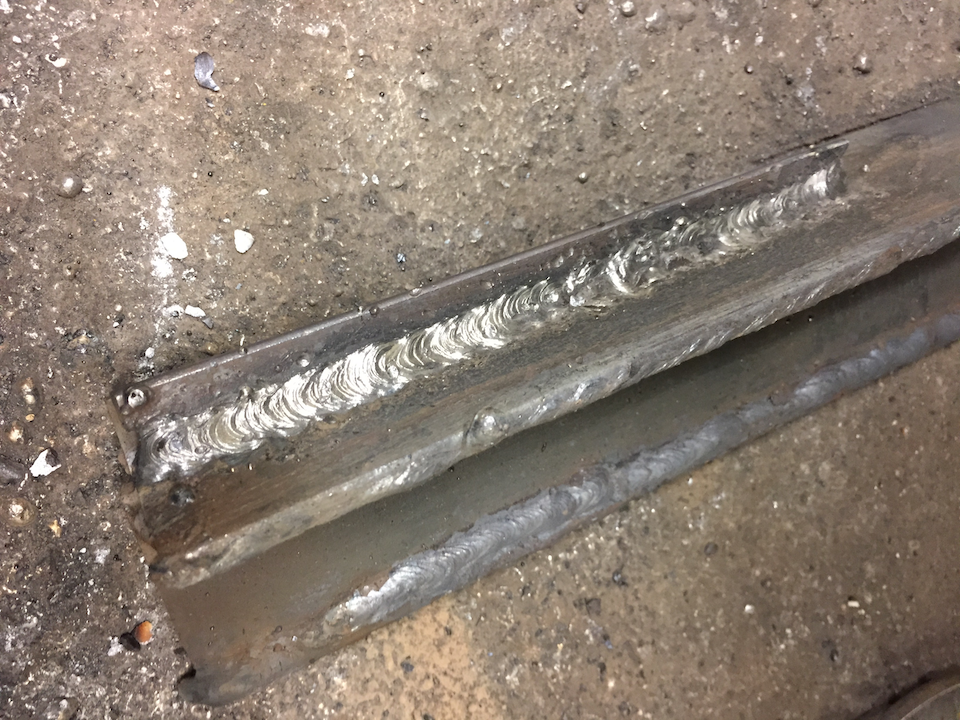
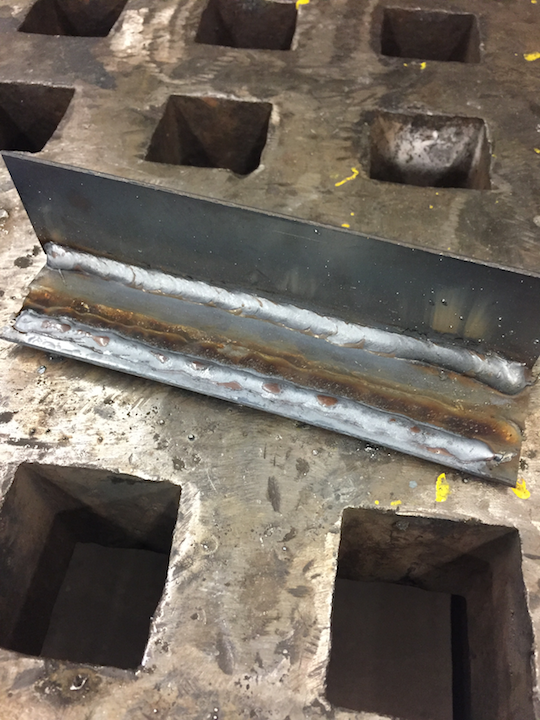
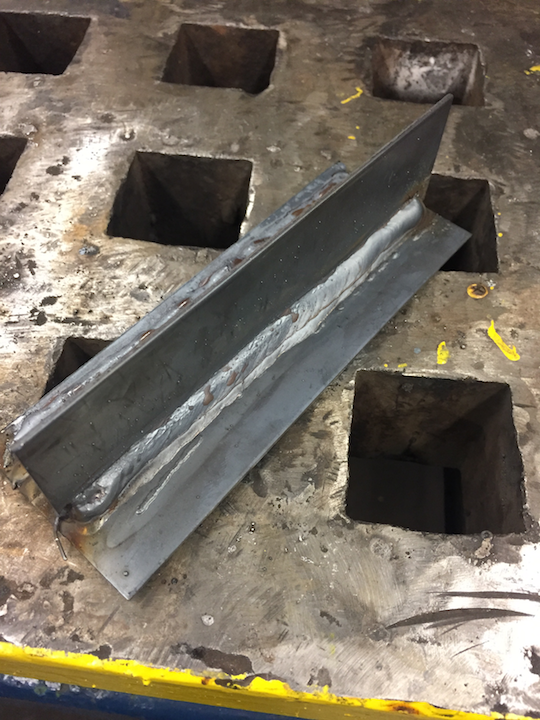
This is the last week of SMAW welding. We were given a couple mild steel plates to tack together to form a T, then focus on proper fillet welds uses three overlapping welds. First, you weld directly in the corner made by the T, joining the plates fully. Then you weld on either side of the first weld, overlapping it by a third or so. It was interesting to manage angles and heat. We were used (IIRC) E7013 electrodes which are much cleaner, shallow penetrating electrodes.
I messed around quite a bit varying the current from 80-100A to help understand the overall effect. If you examine the color of the slag on these welds, you would notice colors varying from a deep brown to burnt to a crisp black; you want that brown color.
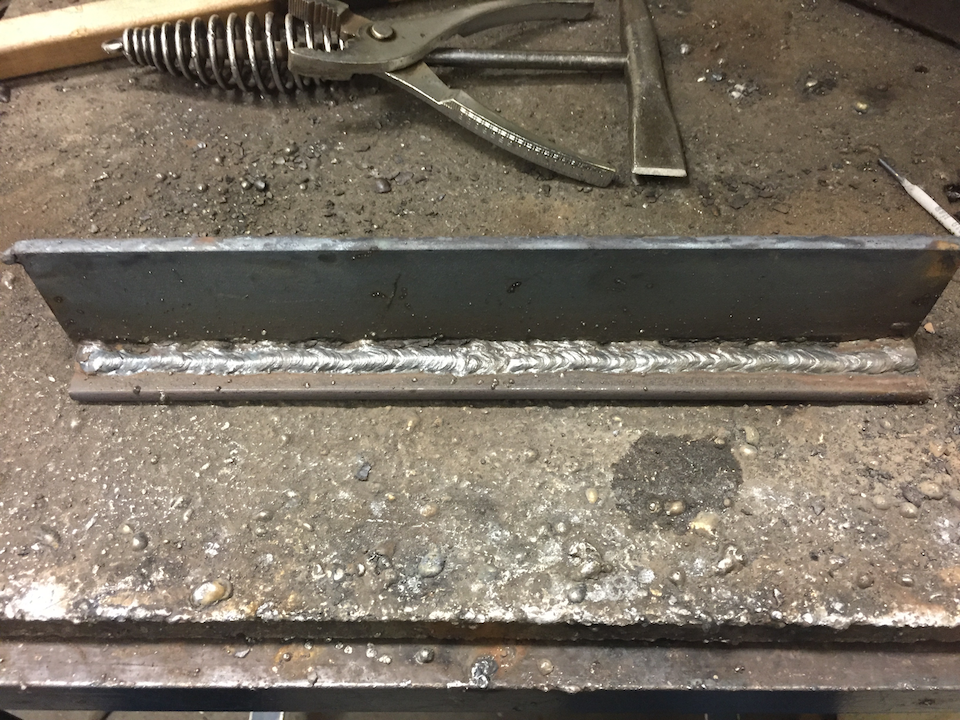
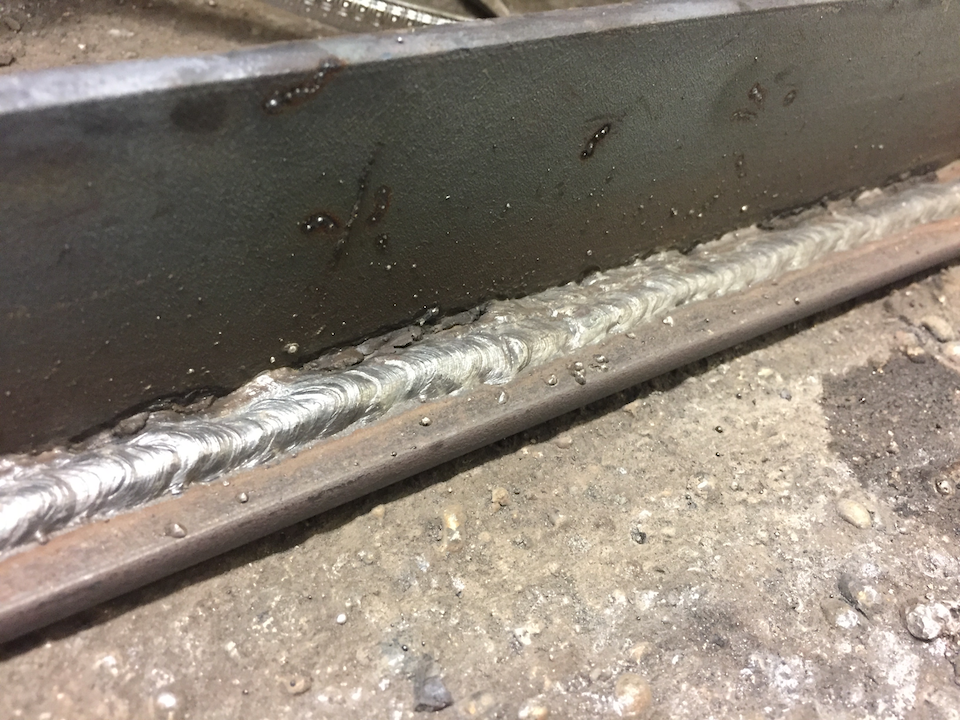
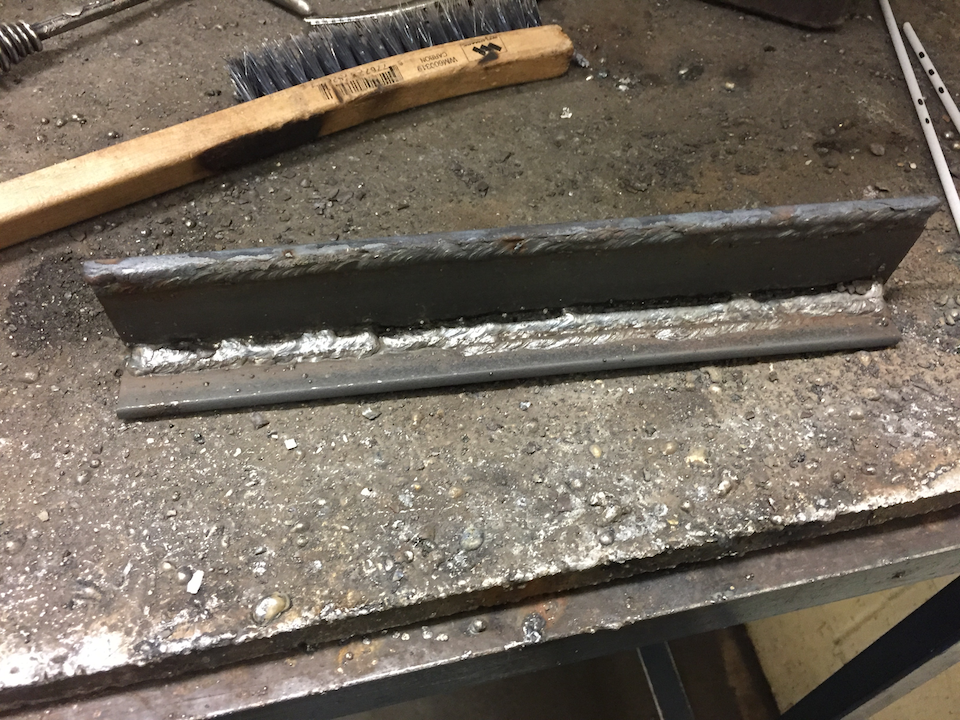
You can see the result of three overlapping welds in this picture.
Week 5
No pictures this week as we had about 10 minutes of actual welding time.
The class was dedicated to understanding the fundamentals of GMAW/MIG welding. We spent about half that time discussing various safety concerns specific to gas cylinders, line pressure, and general etiquette with trimming wire, etc.
I'm excited for next week, that's for sure. In the last half hour I setup an older Miller machine and experimented with wire speed and voltage on some scrap. I had a burn back almost immediately, but recognized it before I caused a bird's nest. The teacher's assistant was very pleased.
Week 6
After all the videos and safety prep of last week, we spent the entire 3 hours MIG welding. Just like with SMAW, the first exercise was making a pad weld. Obviously MIG is cleaner than SMAW. I had fun. Three hours of making a pad weld gets repetitive, so I started tacking more plates together, practiced a bunch with my non-dominant hand, did a couple T-fillet welds, and tried a few vertical (messy) beads.
Week 7 Update
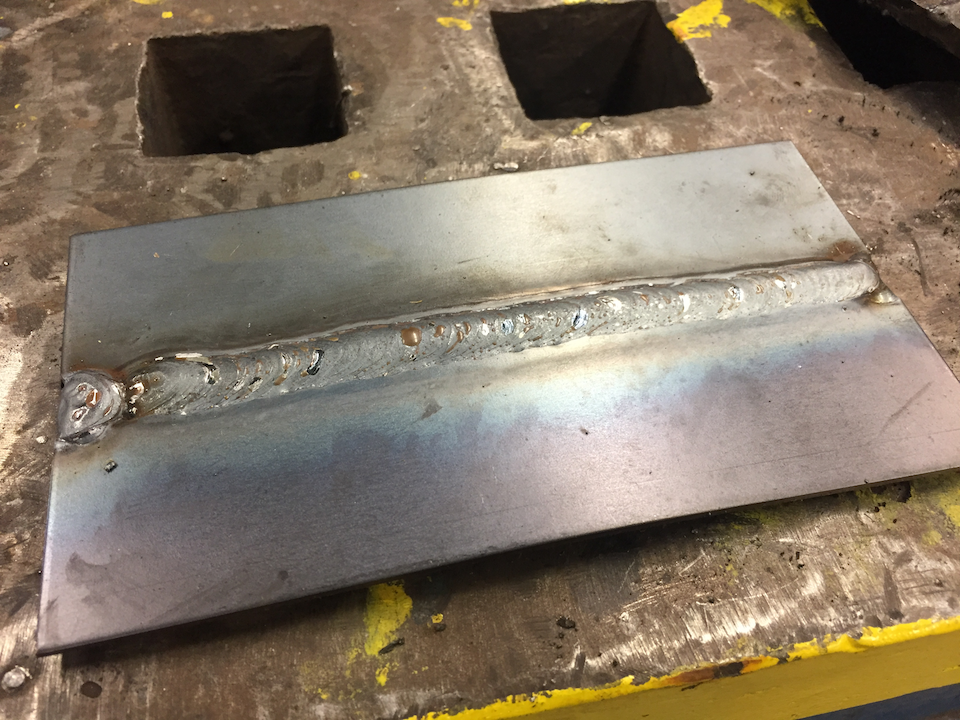
More GMAW (MIG) this week! We watched a couple videos and received some instruction to help us focus on keeping the weld puddle moving by focusing on the leading edge. We spent the majority of the class welding 16 gauge sheet metal, which was a ton of fun. I felt like I was getting the hang of it for sure.
Week 8 Update
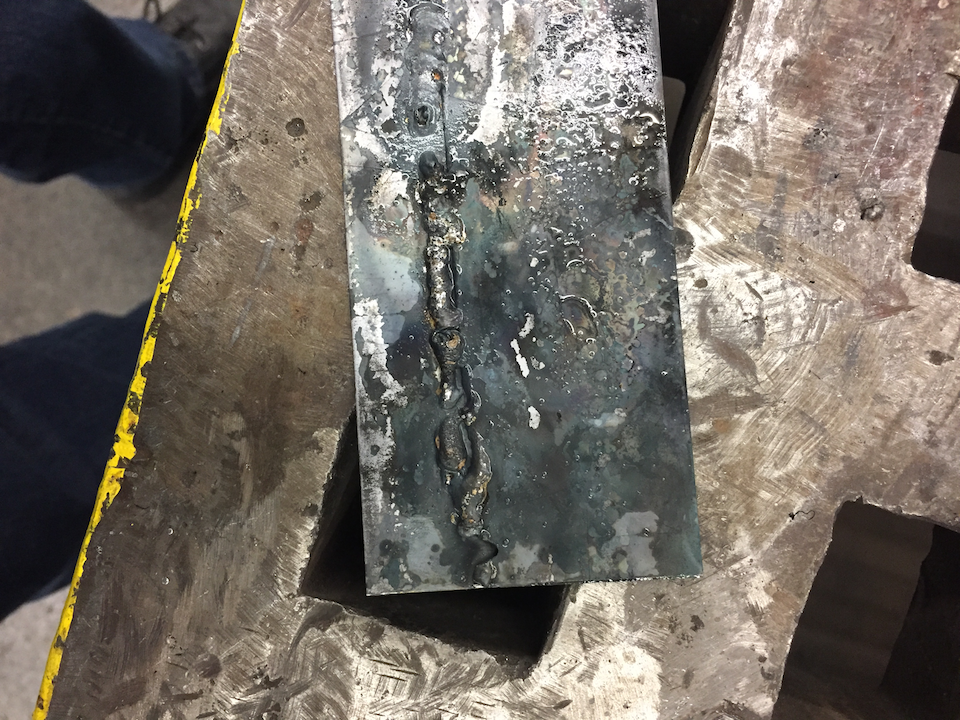
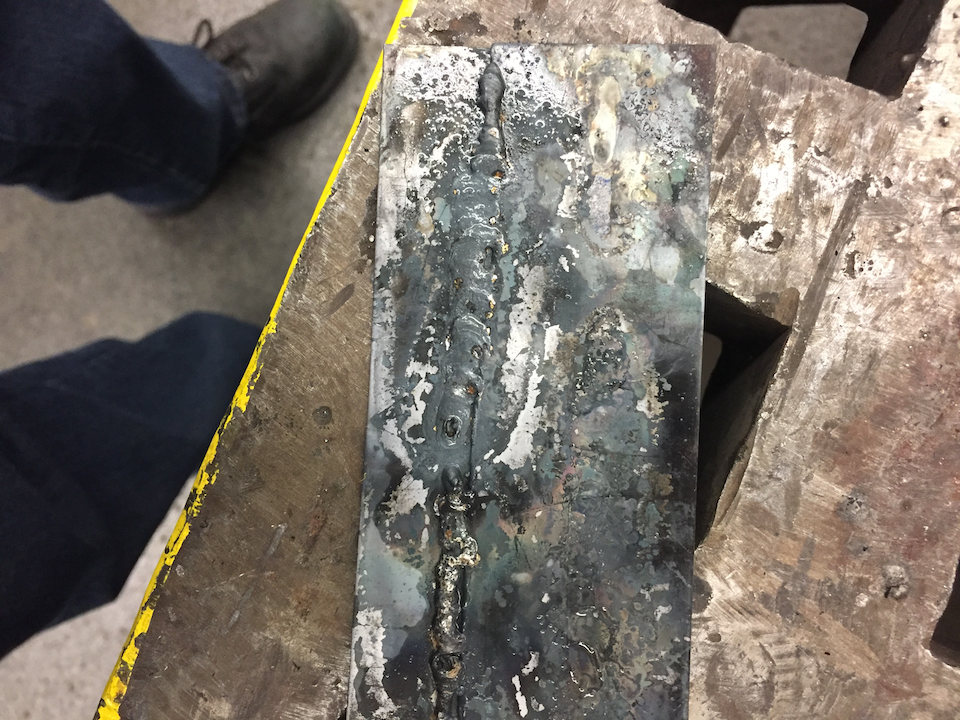
This week was introduction, with emphasis on safety, to oxyacetylene welding and cutting. The majority of the class was spent on background, gas safety, torch safety, and startup and shutdown procedures. I didn't mind since I have quite a bit of respect for gas, especially at high pressures.
Our torch was running like shit and it took us awhile to figure out the nozzle was dirty and causing backfires. This is a bit unsettling as a beginner. We got everything cleaned and had a bit of time to experiment on some sheet metal, both with and without filler metal. It was not enough time to really get a feel for the process.
Week 9 Update
All GTAW (TIG) this week. I've been excited about this from the start. I knew it was going to be a challenge but TIG has always been the welding process that has interested me the most due to its use in high end cars, motorcycles, planes, bikes, etc.
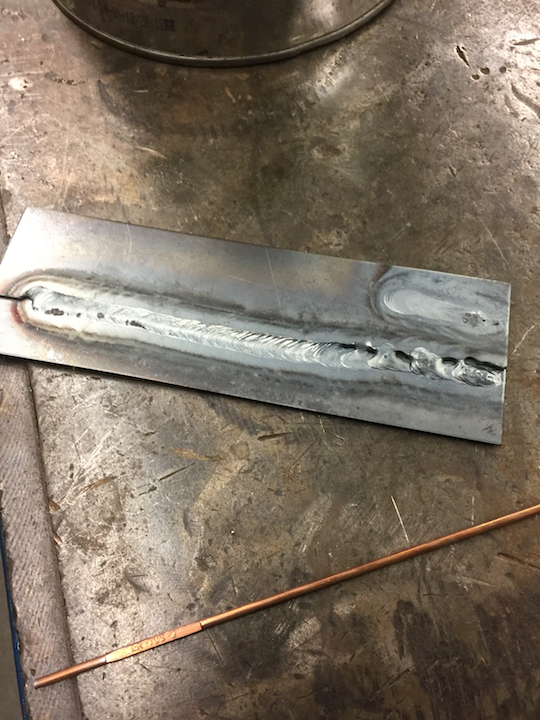
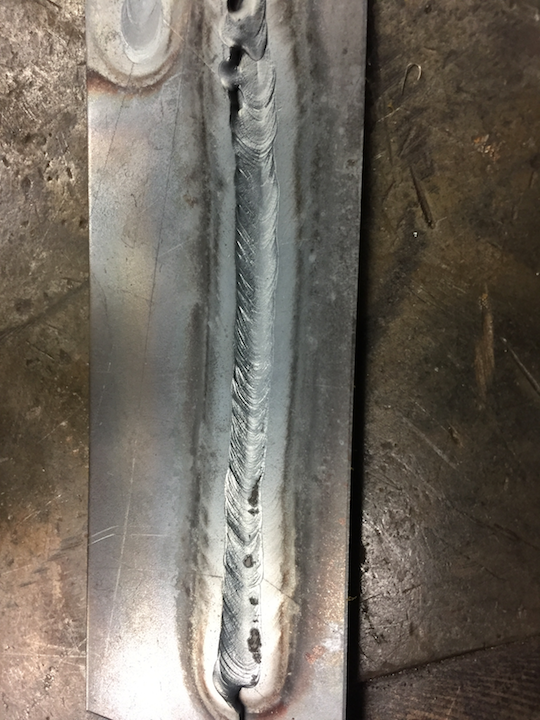
Setting up the machine was straightforward. Of course I dipped the tungsten electrode into the weld puddle more than once and spent ample time at the grinder cleaning it up. By the end of the two hour practice, I was able to make reasonable autogenous welds (where you weld without the use of filler metal), but was very uncomfortable adding filler metal. I couldn't find the right overall pace. That's what next week is for.
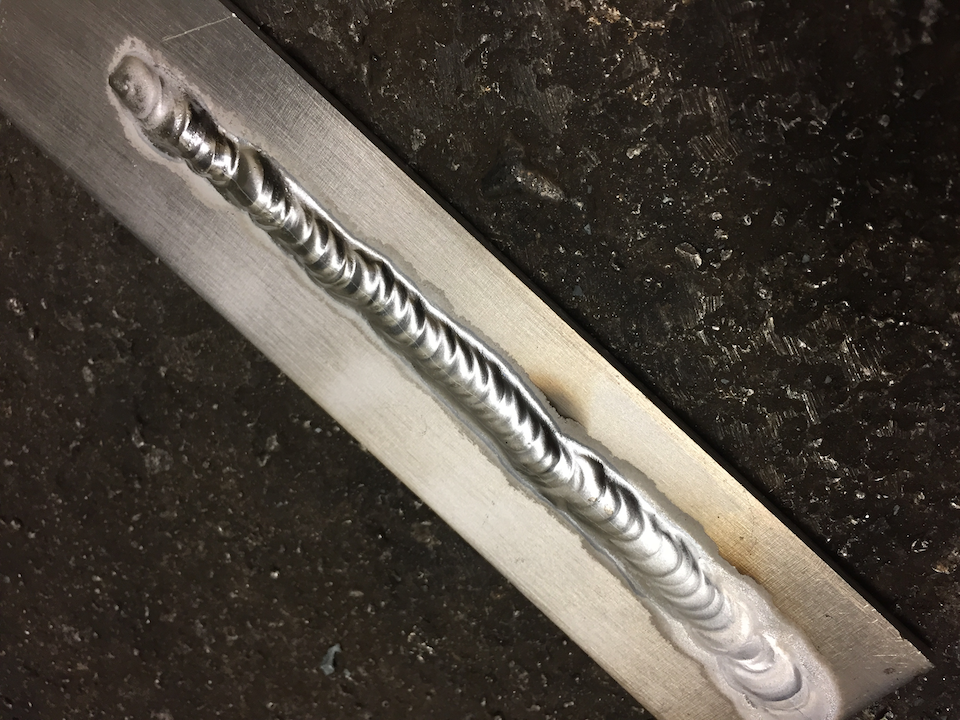
Here is the best autogenous weld from the night. I lost the consistency near the end, which you can obviously see. Pretty sure I increased the distance of the electrode from the base metal and backed off the current a little bit as well.
Week 10 Update - Last class
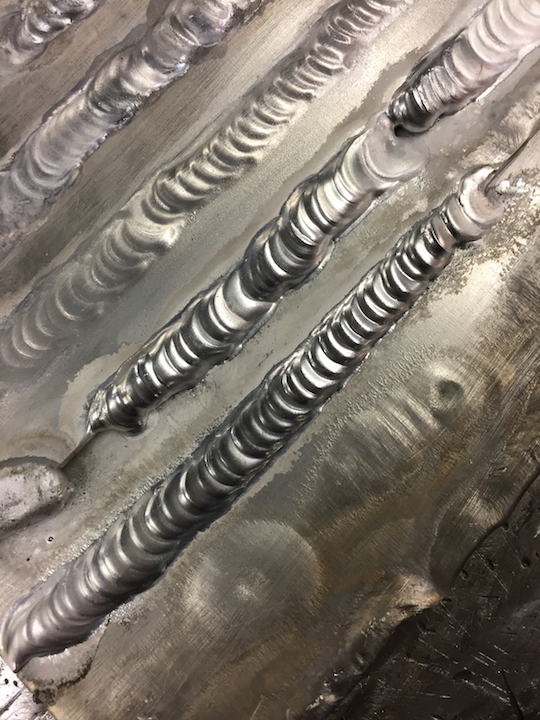
I'm a few weeks delayed on the update, but we had our final class. We spent the entire three hours TIG welding aluminum. It was very enjoyable and quite a challenge. I laid a couple reasonable beads by the end of the night. I was running way too hot at the start. Dealing with the aluminum oxide is a pain in the ass.
That's it. I assume I'll take the advanced class at some point, but would like to get a welding setup at home first and work on some of my planned projects.